
Installing DNSMASQ on Debian and Ubuntu
What is a DNS server?
DNS servers are responsible for resolving domain names into IP addresses. That means when I type, for example, www.prepaid-host.com into my browser, my PC connects via the configured DNS server, i.e. it sends a request asking which IP address is stored for the domain name. With DNSMASQ you can host and configure your own DNS server efficiently. You can use it to manipulate specific domains and set up caches, and even redirect trackers (like Google), so that marketing agencies can't track you. There are many ways to make your browsing experience safer with your own DNS servers.
1. Disable the systemd-resolved service
sudo systemctl disable systemd-resolved
sudo systemctl stop systemd-resolved

sudo rm /etc/resolv.conf

echo 'nameserver 1.1.1.1' >> /etc/resolv.conf
echo 'nameserver 1.0.0.1' >> /etc/resolv.conf
With these commands you can disable the current resolution services so that DNSMASQ has room for the DNS UDP port 53. Normally the systemd-resolved service occupies this port, so DNSMASQ logically can't work properly. That's why we disable the systemd-resolved service.
2. Install DNSMASQ
sudo apt-get install dnsmasq -yWith this command we can install DNSMASQ.
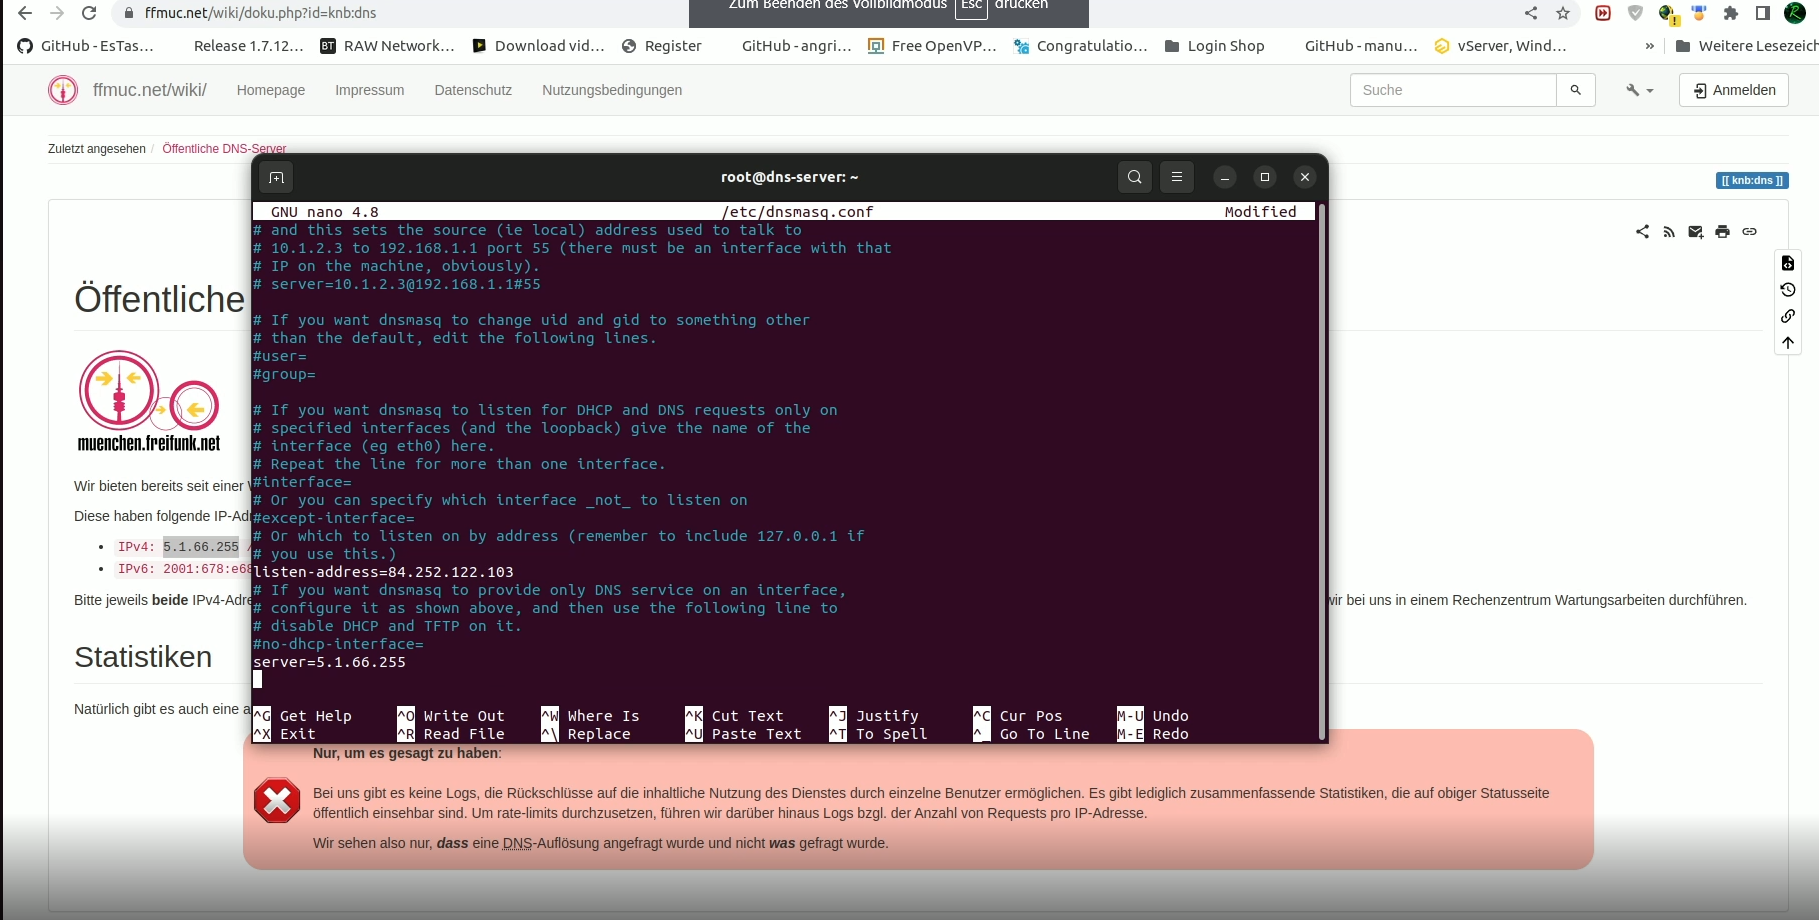
Now we can configure the DNSMASQ DNS server.
sudo nano /etc/dnsmasq.conf
Here are the parameters that can be used in the config:
# The DNS servers to use if DNSMASQ hasn't already found this in the cache.
server=5.1.66.255
server=185.150.99.255
address=/domain.com/127.0.0.1
address=/analytics.google.com/127.0.0.1
With the parameter "address=" we can redirect the domain to a different target IP address. For example, we could redirect Google trackers so that our computer couldn't even reach Google Analytics in the first place.
Restart DNSMASQ
sudo service dnsmasq restart
Now the DNS server can be restarted, and after that the end devices can use the DNS server.

_68db814a1488f.jpg)
 (1)_67190a6595016.png)